
Balancing peak performance and long-term wellness means knowing exactly where your vitamin levels stand. The rise of at-home biomarker testing empowers people everywhere to skip the doctor’s office while gaining precise nutritional insights from the comfort of home. With step-by-step guidance, you can master each stage of accurate at-home vitamin deficiency testing—from gathering supplies to correctly interpreting your personalized results.
Table of Contents
- Step 1: Gather At-home Biomarker Testing Supplies
- Step 2: Collect And Prepare Your Sample Accurately
- Step 3: Submit Your Sample For Advanced Analysis
- Step 4: Interpret Your Vitamin Level Results Precisely
- Step 5: Apply Recommended Actions To Optimize Health
Quick Summary
| Key Point | Explanation |
|---|---|
| 1. Gather essential testing supplies | Collect sterile lancets, blood collection cards, antiseptic wipes, and follow instructions for accurate sample collection. |
| 2. Execute precise sample collection | Wash hands, choose the proper finger, and ensure a clean workspace to obtain reliable blood sample results. |
| 3. Submit sample for accurate analysis | Package your blood sample securely and mail it within 24 hours to ensure integrity during transport. |
| 4. Interpret results carefully | Compare your vitamin levels against reference ranges and consult professionals to understand health implications. |
| 5. Develop a health optimization strategy | Create a personalized plan addressing dietary needs, supplementation, and lifestyle changes based on test results. |
Step 1: Gather at-home biomarker testing supplies
Preparing for at-home vitamin level testing requires collecting the right supplies to ensure accurate sample collection. Home biomarker testing kits provide an accessible way to analyze your vitamin levels without visiting a medical facility.
Your testing kit will typically include several essential components for precise sample gathering. These usually contain:
- Sterile finger-prick lancets
- Blood collection cards or tubes
- Antiseptic wipes
- Adhesive bandages
- Prepaid return envelope
- Detailed instruction manual
When selecting an at-home testing kit, look for reputable vitamin testing options that provide clear collection instructions and certified laboratory processing. Most kits include everything necessary for a straightforward blood sample collection process.
Proper sample collection requires following instructions precisely to ensure accurate vitamin level analysis.
Before beginning the testing process, review the kit’s instructions thoroughly and set up a clean, well-lit workspace with all materials easily accessible. Ensure you have clean hands and are comfortable with the sample collection method.
Pro tip: Keep your testing kit at room temperature and check the expiration date to maintain sample integrity and testing accuracy.
Step 2: Collect and prepare your sample accurately
Collecting a blood sample for vitamin level testing requires precision and careful attention to detail. Your goal is to obtain an accurate representation of your vitamin levels through a simple finger-prick method.
Prepare for sample collection by following these essential steps:
- Wash your hands thoroughly with warm water
- Allow hands to warm up to improve blood circulation
- Find a well-lit, clean workspace
- Gather all testing kit components
- Read instructions carefully before beginning
Proper finger-prick technique involves selecting the side of your fingertip, which has fewer nerve endings and makes the process more comfortable. Clean the selected finger with an antiseptic wipe and let it dry completely before proceeding.
Precision in sample collection is crucial for obtaining reliable vitamin level results.
When you’re ready to collect the sample, use the provided sterile lancet to create a small puncture. Gently squeeze your finger to produce a droplet of blood, and carefully transfer it onto the collection card or tube without touching the surface. Ensure you collect enough blood to fill the designated area completely.

Pro tip: Hold your hand below heart level and gently massage from wrist to fingertip to encourage steady blood flow during sample collection.
Step 3: Submit your sample for advanced analysis
After carefully collecting your blood sample, the next crucial step is ensuring its proper submission for professional laboratory analysis. This process transforms your biological sample into comprehensive vitamin level insights.
Prepare your sample for submission by following these key steps:
- Double-check the sample collection card or tube
- Verify you’ve collected sufficient blood volume
- Inspect the sample for any potential contamination
- Seal the collection container securely
- Complete all required documentation
Packaging your sample correctly is essential to maintain its integrity during transit. Place the sealed sample container in the provided biohazard bag, then into the prepaid return envelope. Ensure all identifying information is clearly visible and matches your registration details.
Proper sample handling guarantees the most accurate vitamin level assessment.
Once packaged, send your sample promptly to the laboratory. Most testing services recommend mailing within 24 hours of collection to prevent potential degradation. Track your sample online to monitor its progress through the analysis pipeline.
Pro tip: Photograph your completed sample kit and tracking information as a personal backup in case of shipping complications.
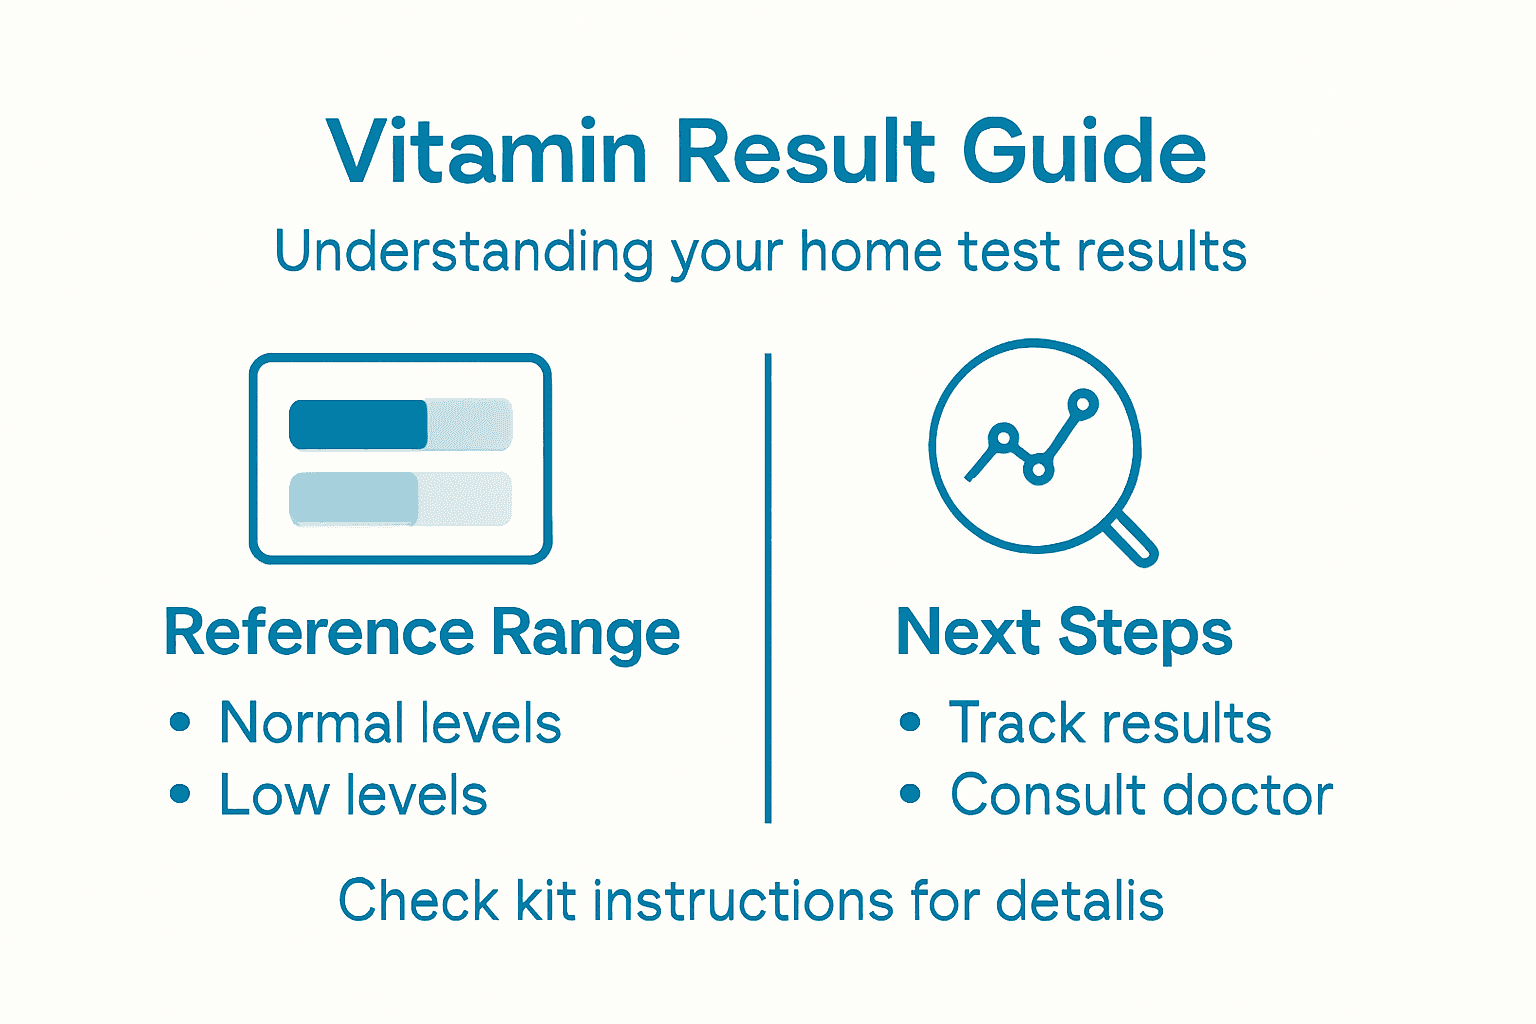
Step 4: Interpret your vitamin level results precisely
Your vitamin test results have arrived, presenting a detailed snapshot of your nutritional health. Understanding these complex biomarker data requires a strategic approach to translate scientific metrics into actionable insights.
When reviewing your results, pay attention to these critical elements:
- Numerical vitamin level measurements
- Reference ranges for each vitamin
- Potential deficiency or surplus indicators
- Comparative analysis to optimal health standards
- Specific recommendations provided
Understand your baseline values by comparing your results against standard reference ranges. Biomarker interpretation involves examining where your specific measurements fall within the established health spectrum.
Here’s a quick comparison of common vitamin test result indicators and their potential implications:
| Indicator Type | Example Value | What It Might Mean | Suggested Next Steps |
|---|---|---|---|
| Below Reference Range | Vitamin D: 18 ng/mL | Possible deficiency | Consider supplements, lifestyle |
| Within Reference Range | B12: 450 pg/mL | Likely adequate levels | Maintain current routine |
| Above Reference Range | Vitamin A: 90 µg/dL | Potential overdose risk | Reduce intake, consult doctor |
| Fluctuating Close to Limit | Folate: 4.1 ng/mL | Approaching deficiency threshold | Monitor, adjust diet as needed |
Precise interpretation transforms raw data into meaningful health intelligence.
Consult with a healthcare professional to contextualize your results, especially if your vitamin levels indicate potential deficiencies or imbalances. They can help you develop a targeted nutritional strategy based on your unique physiological profile.
Pro tip: Create a personal health journal to track your vitamin levels over time, enabling you to observe trends and measure the effectiveness of dietary or supplementation interventions.
Step 5: Apply recommended actions to optimize health
Transforming your vitamin test results into tangible health improvements requires a strategic and personalized approach. Your goal is to develop an actionable plan that addresses any identified nutritional gaps and supports your overall wellness.
Design your optimization strategy by focusing on these key areas:
- Dietary modifications based on specific vitamin deficiencies
- Targeted supplementation recommendations
- Lifestyle adjustments to support nutrient absorption
- Regular monitoring and follow-up testing
- Consultation with healthcare professionals
Create a targeted nutritional intervention that addresses your unique biochemical needs. Biomarker testing benefits extend beyond initial insights, providing a roadmap for personalized health optimization.
Transforming data into action is the key to meaningful health improvement.
Work closely with a nutritionist or healthcare provider to develop a comprehensive plan that integrates dietary changes, potential supplementation, and lifestyle modifications. This collaborative approach ensures that your optimization strategy is scientifically sound and tailored to your individual health profile.
This summary table outlines key roles of healthcare professionals in personalized vitamin optimization:
| Professional | Role in Optimization | Why Involve Them? |
|---|---|---|
| Primary Care Physician | Interprets complex results, diagnoses | Ensures safety and appropriateness |
| Nutritionist/Dietitian | Designs balanced dietary plans | Personalizes nutrition guidance |
| Pharmacist | Checks supplement interactions | Prevents negative side effects |
Pro tip: Schedule a follow-up test in 3-6 months to track the effectiveness of your nutritional interventions and make data-driven adjustments to your health strategy.
Take Control of Your Vitamin Health with Precision Testing at Home
Struggling to accurately analyze your vitamin levels at home can leave you guessing about your true nutritional status. The article highlights challenges like precise sample collection and interpreting complex biomarker data. If you want clear, actionable insights to optimize your health and avoid deficiencies or imbalances, personalized testing is the solution. Biostarks specializes in providing advanced at-home biomarker tests, including vitamin analysis, that eliminate uncertainty using Swiss mass spectrometry technology.
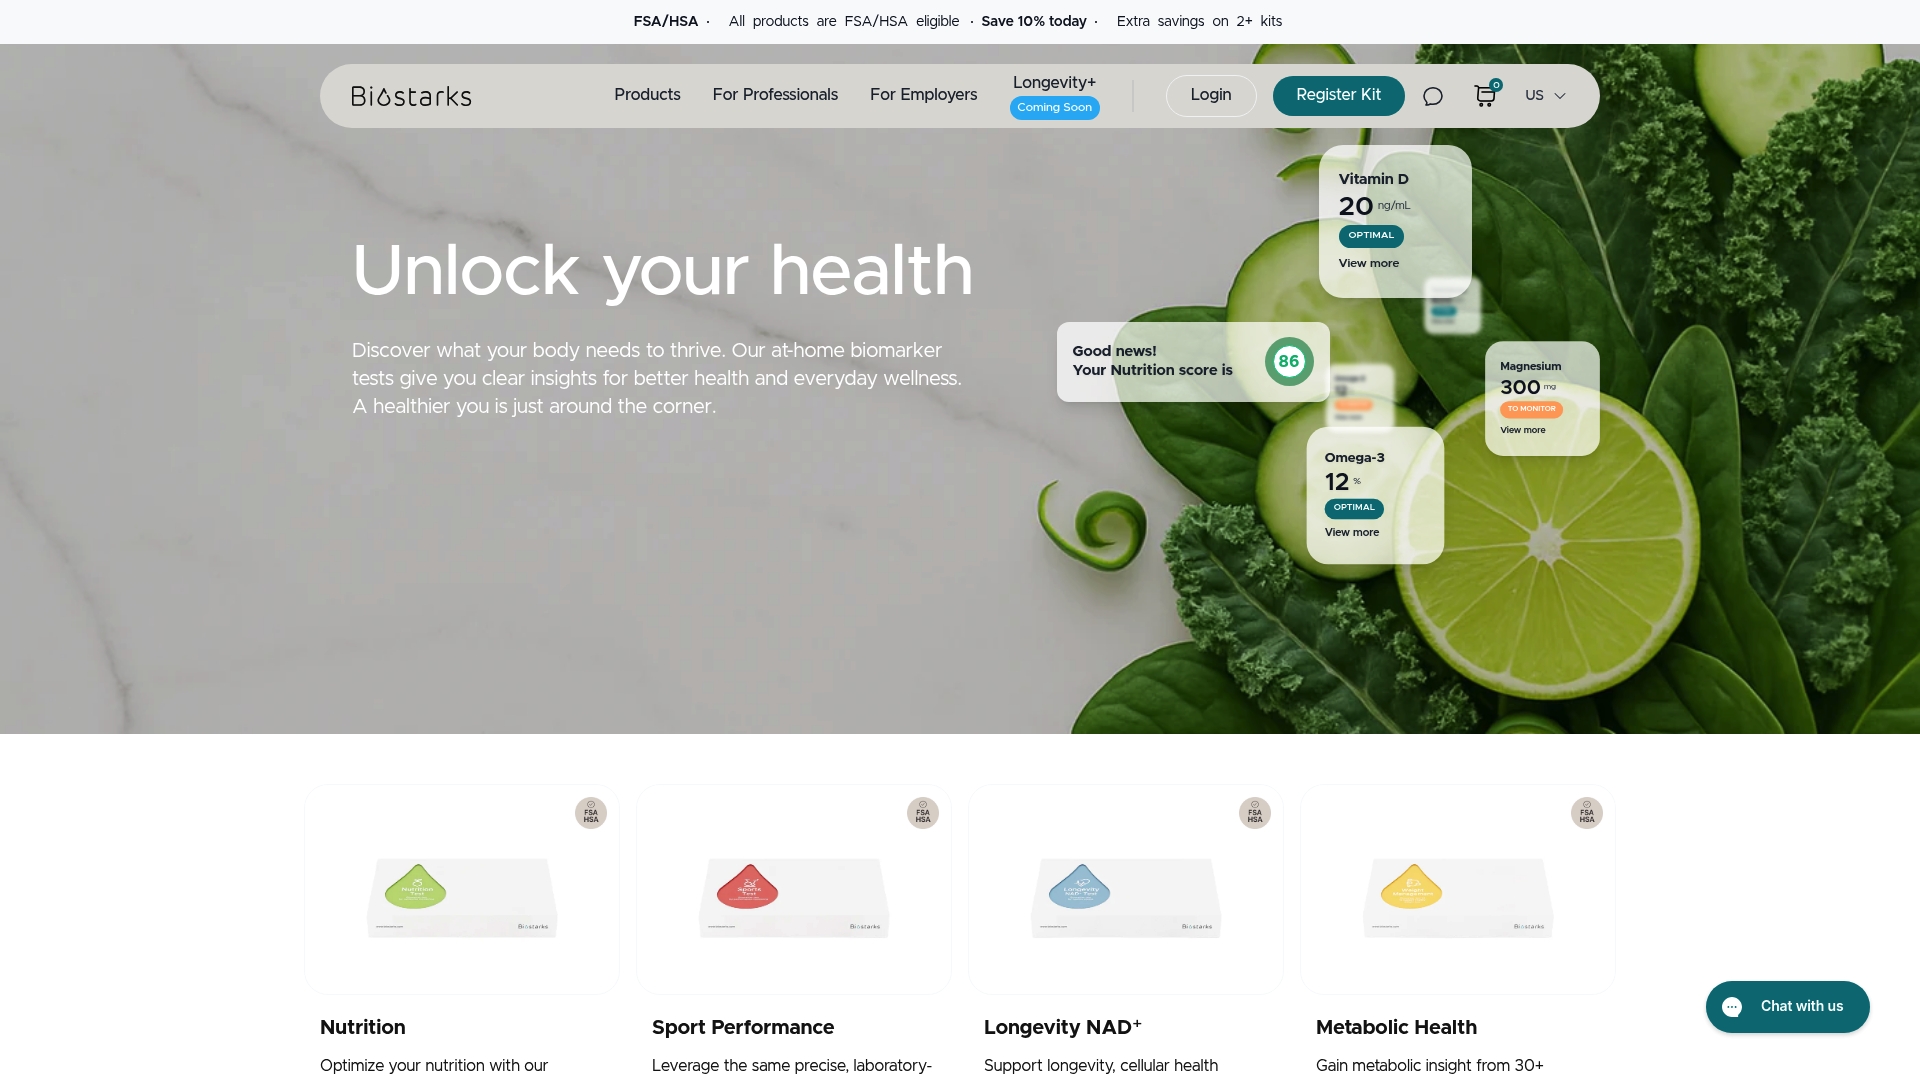
Explore the Biostarks | Collection designed for individuals seeking reliable home testing. With user-friendly kits and detailed reports, you gain the power to transform your vitamin data into effective health strategies. Don’t wait to make informed choices about your wellness. Visit Biostarks now and start your journey toward precise vitamin insights and better health today.
Frequently Asked Questions
What are the essential supplies needed for at-home vitamin level testing?
To successfully conduct at-home vitamin level testing, you’ll need several supplies, including sterile finger-prick lancets, blood collection cards or tubes, antiseptic wipes, adhesive bandages, and a prepaid return envelope. Gather these items before you begin to ensure a smooth testing process.
How do I correctly collect a blood sample for vitamin testing at home?
To collect a blood sample accurately, wash your hands with warm water and let them warm up to promote blood flow. Use a sterile lancet to prick the side of your fingertip, allow a droplet to form, and transfer it to the collection card carefully.
What should I do after collecting my blood sample for vitamin analysis?
After collecting your blood sample, double-check that you’ve collected enough blood and seal the container securely. Place it in the provided biohazard bag and return envelope, then mail it within 24 hours to ensure accurate analysis.
How can I interpret the results of my vitamin level test?
When interpreting your vitamin level test results, compare the numerical values to the provided reference ranges for each vitamin. Look for indicators of deficiencies or excesses, and consider consulting a healthcare professional to better understand what the results mean for your health.
What actions should I take based on my vitamin level results?
Based on your vitamin level results, focus on dietary modifications, targeted supplementation, or lifestyle adjustments to address any deficiencies. Collaborate with a nutritionist or healthcare provider to create a personalized action plan to optimize your health.
How often should I retest my vitamin levels after making dietary changes?
Consider retesting your vitamin levels approximately 3–6 months after implementing dietary changes or starting new supplements. This timeframe allows you to evaluate the effectiveness of your intervention and make data-driven adjustments as needed.
Recommended
- Biostarks | Longevity NAD⁺
- Biostarks | Nutrition
- Biostarks | Sport Performance
- Biostarks | Biomarker Testing for Longevity, Metabolic Health, Nutrition & Weight Loss
- Natural Remedies for Singers: Boost Your Vocal Strength Easily - TMRG Solutions
- 5 Foods to Keep Your Immune System Strong - Dr. Stephen Oreski & Associates


