Trying to optimize your health and track personal progress often brings up one big challenge: getting reliable results from at-home blood tests. For health-conscious millennials and Gen Z who value accuracy and convenience, following the right preparation steps is crucial. From staying well-hydrated to understanding fasting rules, this guide covers proven strategies to help you collect, ship, and interpret your blood samples with confidence while maximizing the precision of your health insights.
Table of Contents
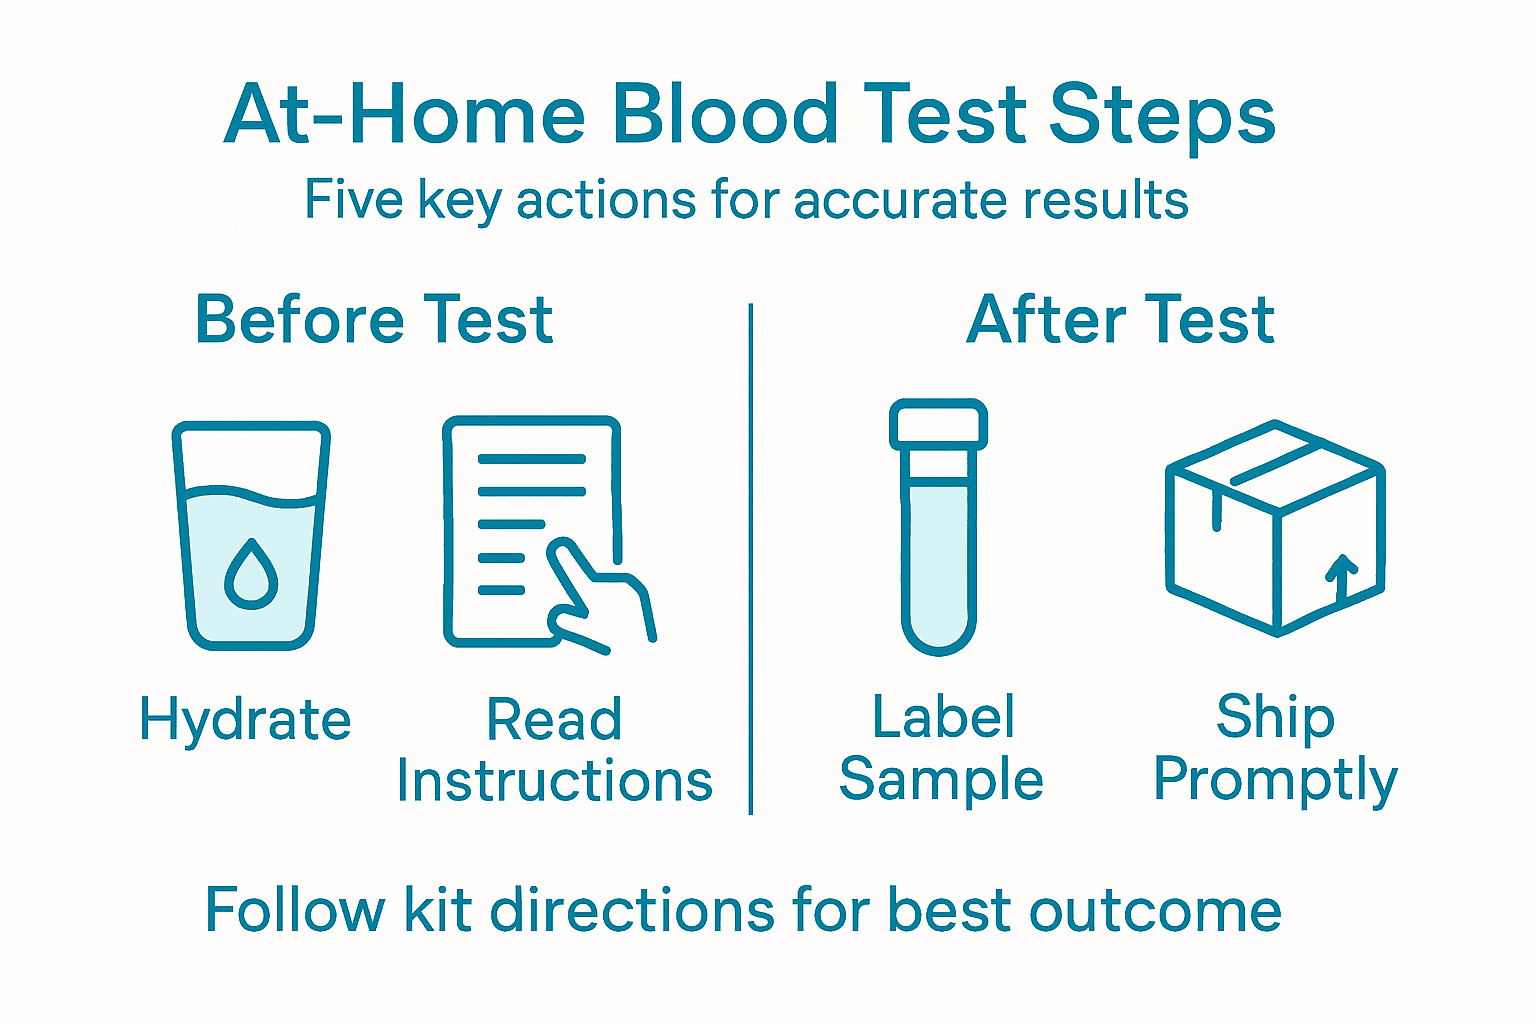
- Step 1: Prepare For Your At-Home Blood Test
- Step 2: Collect Your Blood Sample Correctly
- Step 3: Secure And Label Your Sample For Shipping
- Step 4: Verify Sample Integrity And Tracking
- Step 5: Access And Interpret Your Health Report
Quick Summary
| Key Insight | Explanation |
|---|---|
| 1. Proper fasting is essential | Many blood tests require 8-12 hours of fasting before sample collection to ensure accurate results. |
| 2. Hydration improves sample quality | Drinking plenty of water helps make veins more visible and supports smoother blood collection. |
| 3. Accurate labeling prevents mix-ups | Use clear and permanent labels containing full name and collection date to avoid sample identification errors. |
| 4. Verify sample integrity before shipping | Double-check all labels and ensure proper packaging to maintain the quality of the sample. |
| 5. Understand your health report fully | Compare results against reference ranges and consult a healthcare professional for personalized insights. |
Step 1: Prepare for your at-home blood test
Successfully preparing for an at-home blood test requires strategic planning to ensure accurate results. Understanding the key preparation steps will help you streamline the testing process and maximize the precision of your biomarker analysis.
Start by reviewing the specific testing requirements carefully. Different blood tests have unique preparation protocols, but several universal guidelines apply. Fasting requirements are crucial for many tests, typically involving 8-12 hours without food or beverages except plain water. Here are essential preparation steps:
- Schedule your test early in the morning
- Avoid eating or drinking anything except water for the recommended fasting period
- Stop consuming diuretics like coffee and alcohol 24 hours before testing
- Stay well-hydrated by drinking plain water
- Wear loose, comfortable clothing that allows easy blood sample collection
Proper preparation ensures your blood test provides the most accurate and actionable health insights.
Your hydration status significantly impacts blood test results. Drinking plenty of water helps make veins more visible and improves blood sample quality. Consistent hydration supports smoother sample collection and more reliable biomarker measurements.
Pro tip: Keep a water bottle nearby the night before and morning of your test to ensure optimal hydration without compromising fasting requirements.
Here’s how common blood test preparation mistakes can affect your results:
| Mistake Type | Possible Consequence | How to Avoid |
|---|---|---|
| Inadequate fasting | Skewed glucose or lipid levels | Begin fasting at bedtime |
| Poor hydration | Difficult sample collection | Drink water before testing |
| Incorrect labeling | Sample mix-up risk | Use clear, permanent labels |
| Using used equipment | Risk of contamination | Only use new kit materials |
Step 2: Collect your blood sample correctly
Collecting your blood sample accurately is crucial for obtaining reliable diagnostic results. This step requires careful attention to detail and precise handling to ensure the integrity of your biomarker analysis.
Blood collection follows specific scientific protocols to maintain sample quality and prevent contamination. When preparing to collect your sample, keep these critical guidelines in mind:
- Wash your hands thoroughly before handling collection materials
- Follow the exact instructions provided with your testing kit
- Use only sterile, single-use collection devices
- Handle collection tubes with clean, dry hands
- Avoid touching the inside of tubes or collection areas
Precision in sample collection determines the accuracy of your health insights.
Proper tube handling is essential for maintaining sample integrity. When filling collection tubes, draw blood quickly and cleanly to avoid hemolysis. Gently mix the sample with any tube additives by carefully inverting the tube several times. Ensure you fill the tube to the marked level to guarantee accurate testing.
Pro tip: Keep your collection area clean and organized, and read all instructions completely before beginning the sample collection process to minimize potential errors.
Step 3: Secure and label your sample for shipping
Properly securing and labeling your blood sample is the final critical step in ensuring accurate diagnostic results. Your meticulous attention during this process guarantees the integrity of your biomarker analysis from collection through laboratory processing.
Specimen shipping requires specific packaging protocols to maintain sample quality and prevent contamination. Follow these essential guidelines for sample preparation:
- Use a leak-proof primary container for your blood sample
- Wrap the primary container in absorbent material
- Place the wrapped container in a rigid secondary container
- Seal all containers securely
- Ensure proper temperature conditions during shipping
Precise packaging protects your sample’s scientific value and ensures reliable test results.
Accurate labeling is crucial for sample traceability. Specimen labels must include multiple patient identifiers to prevent potential mix-ups. Include your full name, date of collection, and any other required identification information. Use a permanent marker or printed label that won’t smudge or detach during transport.
Pro tip: Take a clear photo of your completed sample packaging and labels as a personal reference and backup documentation.
Step 4: Verify sample integrity and tracking
Confirming the integrity and accurate tracking of your blood sample is the final crucial step in ensuring reliable diagnostic results. This verification process protects the scientific validity of your biomarker analysis and prevents potential identification errors.
Electronic reporting standards emphasize precise specimen tracking to maintain the highest level of laboratory accuracy. Take the following steps to verify your sample’s integrity:
- Double-check all identification labels
- Confirm the sample collection date and time
- Verify packaging and shipping conditions
- Review your tracking information
- Ensure all documentation is complete and accurate
Meticulous verification protects the scientific value of your health data.
Sample verification is critical for preventing potential errors. Electronic identification systems significantly reduce labeling mistakes, but personal vigilance remains essential. Cross-reference all identifiers, including your name, collection date, and unique sample code, to ensure absolute accuracy before shipping.
Pro tip: Create a personal tracking log with key sample details and take screenshots of shipping information to maintain your own comprehensive record.
Step 5: Access and interpret your health report
Navigating and understanding your comprehensive biomarker health report is the final step in transforming complex scientific data into actionable personal health insights. This process empowers you to take meaningful steps toward optimizing your wellness and performance.
Lab test results provide critical information about your health by measuring key biological markers with precision. To effectively access and interpret your report, consider these essential strategies:
- Log into your secure online portal
- Download the complete report
- Review each biomarker section carefully
- Compare results against reference ranges
- Note any values outside the standard parameters
Your health report is a personalized roadmap to understanding your body’s unique metabolic landscape.
Comprehensive health interpretation requires context beyond raw numbers. Patients have the right to access and understand their health records completely. Pay special attention to:
Below is a summary of what to check when interpreting your health report:
| Review Area | Why It Matters | Action to Take |
|---|---|---|
| Reference ranges | Understand if values are normal | Compare each biomarker |
| Recent changes | Track health trends | Note significant shifts |
| Health implications | Spot areas for improvement | Identify next steps |
| Doctor’s guidance | Get expert interpretation | Schedule a consultation |
- Biomarker specific explanations
- Potential health implications
- Recommended lifestyle or nutritional adjustments
- Comparative trends from previous tests
Consult with a healthcare professional to discuss nuanced insights and develop a personalized optimization strategy based on your specific results.
Pro tip: Create a dedicated digital folder to store and track your health reports chronologically, enabling easy comparison and monitoring of your long-term health trends.
Elevate Your At-Home Blood Testing Experience with Biostarks
Preparing, collecting, and interpreting your at-home blood test can feel overwhelming when you strive for precision and clarity. The guide highlights common challenges like proper fasting, sample collection accuracy, and thorough result understanding — all crucial steps to unlock actionable health insights. If you want to avoid typical pitfalls such as sample contamination or mislabeling and desire scientific rigor in analyzing your biomarkers, Biostarks offers an innovative solution that simplifies this entire process.
Discover our range of carefully designed testing kits tailored for professionals and health-conscious individuals alike in the Biostarks | Collection.
Experience the power of advanced Swiss mass spectrometry paired with user-friendly at-home sample collection. Gain detailed insights into vitamins, hormones, lipids, and metabolic markers with comprehensive reports that guide your wellness journey. Visit https://biostarks.com now and take the first step to optimize your health with precision and confidence. For more specialized options, explore the public testing collection or elevate your testing with our NHS approved kits. Your health deserves this level of clarity and control.
Frequently Asked Questions
What are the essential preparation steps for at-home blood testing?
To prepare for at-home blood testing, schedule your test early in the morning, fast for 8-12 hours before the test, and stay well-hydrated by drinking plain water. Wear loose clothing for easy blood collection and avoid diuretics 24 hours prior to testing.
How do I collect my blood sample correctly at home?
Collect your blood sample by washing your hands thoroughly and following the specific instructions in your testing kit. Use sterile, single-use collection devices and avoid touching the inside of collection tubes to ensure sample integrity.
What should I do to securely package and label my blood sample for shipping?
To package your blood sample securely, use a leak-proof primary container, wrap it in absorbent material, and place it in a rigid secondary container. Clearly label the container with your full name and date of collection to prevent mix-ups.
How can I verify the integrity of my blood sample before shipping?
Verify your blood sample’s integrity by double-checking all identification labels and ensuring accurate shipping conditions. Keep a personal tracking log of your sample details and take screenshots of any tracking information.
What should I look for when interpreting my health report?
When interpreting your health report, compare each biomarker against reference ranges and note any values outside the normal limits. Identify any significant health implications and consider scheduling a consultation with a healthcare professional for further insights.
How can I track my health reports over time?
To track your health reports, create a dedicated digital folder to store each report chronologically. This organization makes it easier to identify trends and monitor changes in your health over time.


