
Accessing reliable lab tests without visiting a clinic has traditionally been complicated and time-consuming. At-home biomarker testing offers a convenient solution, but many people feel uncertain about the process and accuracy. This guide walks you through every step of at-home lab testing, from preparation to result interpretation, empowering you to take control of your health with confidence and precision.
Table of Contents
- What You Need To Prepare For At-Home Lab Testing
- Step-By-Step Instructions For Collecting Your Sample Successfully
- Common Mistakes And How To Avoid Them During At-Home Testing
- Understanding Your Lab Test Results And Their Limitations
- Explore Professional At-Home Biomarker Testing With Biostarks
- Frequently Asked Questions About The At-Home Lab Test Process
Key takeaways
| Point | Details |
|---|---|
| Preparation matters | Proper setup and kit verification ensure accurate, reliable biomarker results |
| Follow instructions carefully | Each step in sample collection directly impacts test validity and usability |
| Understand test limitations | At-home tests provide valuable data but require professional interpretation for health decisions |
| Avoid common mistakes | Checking expiration dates, proper sample volume, and timely shipping prevent errors |
| Professional kits save time | Valid at-home testing empowers health optimization without clinic visits |
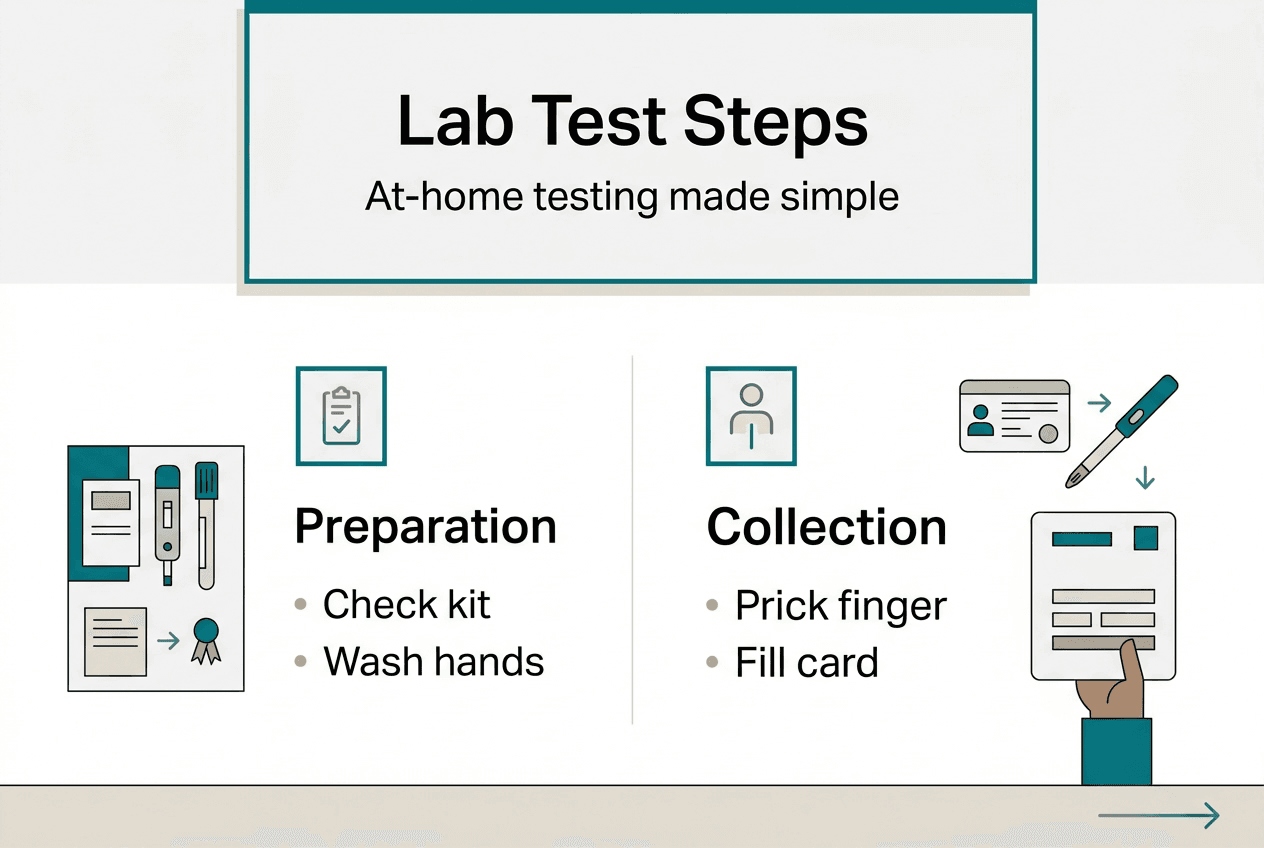
What you need to prepare for at-home lab testing
Successful at-home biomarker testing starts well before you prick your finger. Preparation determines whether your sample yields accurate, actionable results or ends up rejected by the lab.
Start by confirming your kit contents match the provided checklist. Most kits include lancets for finger pricking, collection cards or tubes, alcohol wipes, bandages, a biohazard bag, and prepaid return shipping materials. Missing components compromise the entire process, so verify everything before beginning.
Checking the expiration date should be your first step before using any test kit. Expired reagents or collection materials produce unreliable results. Inspect the kit packaging for damage during shipping, as compromised sterility invalidates samples.
Create a clean, well-lit workspace for sample collection. Good lighting helps you see blood drops clearly and ensures proper placement on collection cards. Wash your hands thoroughly and clear a flat surface where you can lay out all components within easy reach.
Timing matters for biomarker accuracy. While fasting isn’t required for most at-home tests, afternoon collection generally works best for blood samples. Hydration levels, recent meals, and even stress can influence certain biomarkers, so follow any specific timing instructions included with your kit.
Pro Tip: Warm your hands under running water for 30 seconds before collection. Increased blood flow makes finger pricking easier and helps you collect adequate sample volume on the first attempt.
Gather these essential supplies before starting:
- Clean, flat workspace with good lighting
- Timer or clock to track drying time
- Glass of water to stay hydrated
- Tissues for cleanup
- Your completed registration form
Hygiene prevents contamination that skews results. Avoid touching the collection card’s sample area with your fingers. Handle lancets by the plastic casing only, never the needle tip. Keep pets and children away from your workspace during collection.
Understanding the wellness testing process guide helps you recognize why each preparation step matters for result quality.
| Preparation Step | Purpose | Time Required |
|---|---|---|
| Verify kit contents | Ensure all materials present | 2 minutes |
| Check expiration date | Confirm reagent validity | 1 minute |
| Prepare workspace | Prevent contamination | 3 minutes |
| Wash hands thoroughly | Reduce infection risk | 2 minutes |
| Review instructions | Understand process flow | 5 minutes |
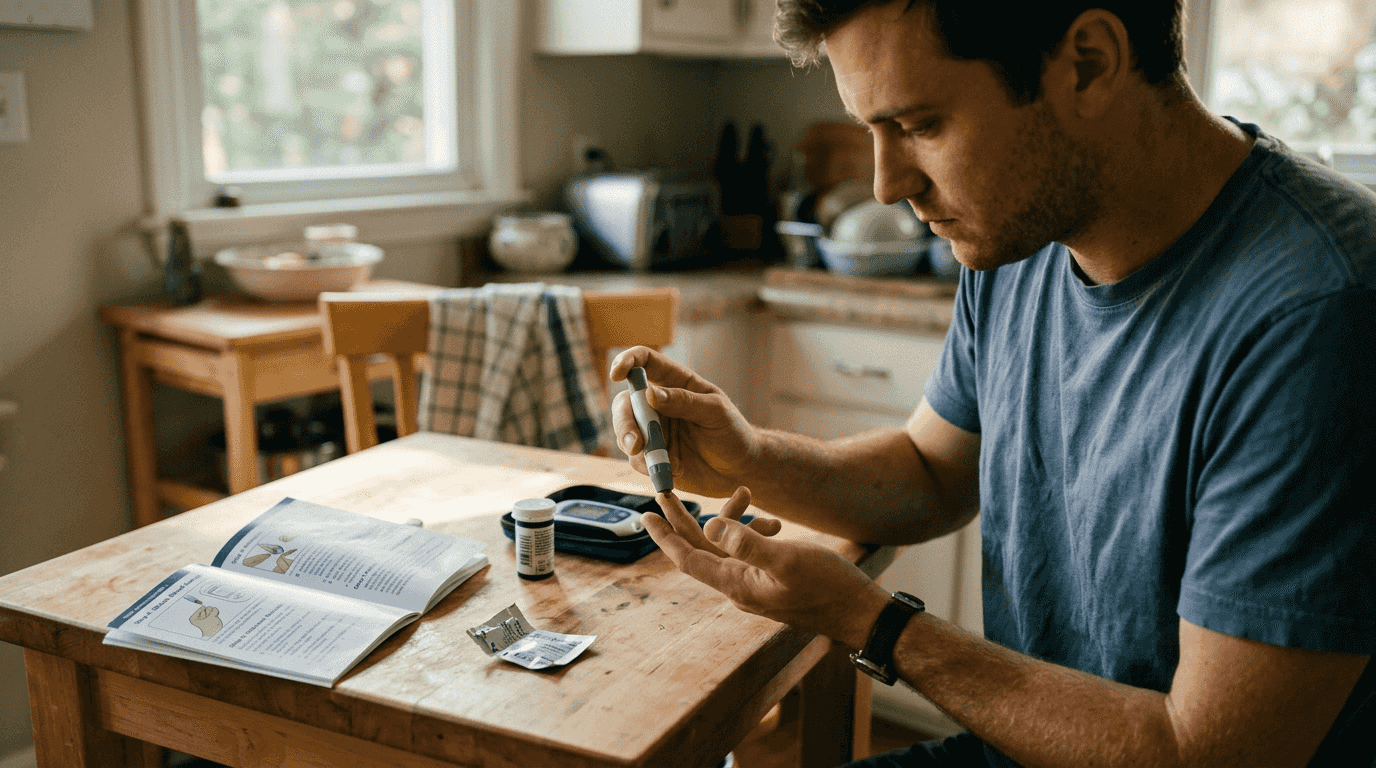
Step-by-step instructions for collecting your sample successfully
With preparation complete, you’re ready to collect your biomarker sample. Following each step precisely ensures the lab receives a valid specimen that produces accurate results.
Sanitize your hands with soap and warm water for at least 20 seconds. Dry completely with a clean towel. Select your non-dominant hand’s middle or ring finger for pricking, as these fingers typically have better blood flow and cause less disruption to daily activities.
Wipe your chosen fingertip with the provided alcohol pad using a circular motion from center outward. Allow the alcohol to air dry completely, about 30 seconds. Pricking a wet finger dilutes your blood sample and affects biomarker concentrations.
Twist off the lancet cap and press the device firmly against the side of your fingertip, slightly off-center from the pad. Press the trigger button. You’ll feel a quick prick. Dispose of the used lancet immediately in a puncture-resistant container.
Gently massage your finger from palm toward the tip to encourage blood flow. Wipe away the first small drop with a clean tissue, as this often contains tissue fluid that can contaminate your sample. The subsequent drops provide the purest blood for testing.
Collecting 4 drops of blood evaluates a dozen biomarkers effectively. Sample collection takes about 10-15 minutes if instructions are followed carefully. Touch each blood drop to the designated circle on your collection card, allowing it to soak through to the back. Avoid smearing or touching the card surface.
If blood flow slows, try these techniques:
- Lower your hand below your heart for 10 seconds
- Gently massage from palm to fingertip again
- Apply slight pressure to the finger base
- If needed, use a second lancet on a different finger
Once you’ve filled all required circles, lay the collection card flat on a clean surface. Allow it to dry completely for at least 30 minutes at room temperature. Don’t use heat sources like hair dryers, as this degrades biomarkers. Don’t stack wet cards together.
After drying, place your collection card in the provided biohazard bag. Seal it completely. Insert the bag into the prepaid return envelope along with your completed registration form. Double-check that you’ve included all required materials.
Mail your sample as promptly as possible, ideally within 24 hours of collection. Prolonged storage at home, especially in heat or humidity, degrades certain biomarkers and reduces result accuracy. Drop your package at a post office or official collection box rather than leaving it in a personal mailbox.
The step-by-step at-home blood testing guide provides visual references for each collection phase, helping you verify you’re following the process correctly.
“The key to successful at-home collection is patience and following instructions exactly as written. Rushing through steps or improvising techniques leads to rejected samples and wasted time.”
Common mistakes and how to avoid them during at-home testing
Even with careful preparation, certain errors frequently compromise at-home test results. Recognizing these pitfalls helps you avoid them and ensures your investment in testing yields valid data.
Not checking kit expiration dates before use ranks among the most common mistakes. Expired collection materials contain degraded reagents that produce inaccurate biomarker readings. Always verify the expiration date printed on your kit packaging before opening any components.
Collecting insufficient sample volume causes frequent rejections. Many errors come from improper sample volume or delayed shipping, which affect accuracy and usability. Fill each designated circle completely, ensuring blood soaks through to the card’s back side. Partial fills don’t provide enough material for comprehensive analysis.
Contamination from touching collection card surfaces with fingers transfers oils and bacteria that interfere with testing. Handle cards only by the edges. Never touch the circles where blood samples go. If you accidentally contaminate a card, contact the testing company for a replacement rather than submitting a compromised sample.
Delaying sample mailing after collection decreases accuracy significantly. Biomarkers degrade over time, especially in uncontrolled temperature conditions. Some markers lose measurable activity within 48 hours of collection. Ship your sample the same day or next morning whenever possible.
Ignoring instructions about medication interference leads to skewed results. Certain supplements and medications affect specific biomarkers. If your kit instructions recommend temporarily discontinuing supplements before testing, follow this guidance. When in doubt, consult your healthcare provider about medication timing.
Mislabeling samples or submitting incomplete registration forms creates processing delays or complete test invalidation. Labs can’t match anonymous samples to your account. Double-check that your name, date of birth, and collection date are clearly written and match your online registration exactly.
Other frequent mistakes include:
- Pricking fingers too shallowly, resulting in insufficient blood flow
- Using the same finger for multiple pricks instead of switching fingers
- Storing kits in hot cars or direct sunlight before use
- Forgetting to remove lancet safety caps before triggering
- Mailing samples on Fridays, risking weekend transit delays
“Quality at-home testing requires attention to detail at every stage. Small oversights in collection technique or timing can invalidate an entire test, requiring you to reorder a kit and start over.”
Following best practices for biomarker success minimizes these errors and maximizes the value you receive from at-home testing.
Understanding your lab test results and their limitations
Receiving your biomarker results marks an exciting milestone, but interpreting them correctly requires understanding both their value and limitations.
Results accuracy depends heavily on the specific test type and biomarkers measured. Dried blood spot testing yields similar results to traditional blood tests, though accuracy varies by biomarker. Vitamin D, cholesterol, and hemoglobin A1c show excellent correlation with venous blood draws. Other markers may show more variability.
Your results typically arrive within 7 days of the lab receiving your sample. Most companies provide a detailed report showing your biomarker levels alongside reference ranges. These ranges represent values observed in healthy populations, but “normal” doesn’t always mean “optimal” for your individual health goals.
Understanding result variability helps you interpret findings appropriately. Biomarker levels fluctuate based on time of day, recent meals, hydration status, stress levels, and even sleep quality. A single test provides a snapshot, not a complete picture. Tracking trends over time through repeated testing offers more valuable insights than isolated measurements.
Direct-to-consumer gut microbiome tests show major discrepancies, underscoring the need for interpretation caution. Different testing platforms may report different values for the same sample. This variability stems from differences in testing methodologies, reference populations, and analysis algorithms.
Lab tests don’t replace medical diagnosis but provide empowering personal health data. They help you identify potential areas of concern worth discussing with healthcare professionals. They track whether lifestyle interventions are moving biomarkers in desired directions. They reveal patterns that might otherwise go unnoticed until symptoms develop.
Consult healthcare professionals for interpreting results and planning health interventions. While at-home tests democratize access to health data, medical expertise remains essential for:
- Distinguishing clinically significant findings from normal variation
- Identifying interactions between multiple biomarkers
- Recommending evidence-based interventions
- Monitoring for serious conditions requiring immediate attention
- Ordering confirmatory testing when needed
Pro Tip: Schedule a telehealth appointment with a healthcare provider before ordering your test. Discuss which biomarkers matter most for your health goals, so you can focus on actionable insights rather than getting overwhelmed by data.
| Test Type | Typical Accuracy | Best Use Case | Limitations | | — | — | — | | Dried blood spot | High for most markers | Convenient screening | Some markers less precise | | Microbiome analysis | Variable by platform | Gut health trends | Poor cross-platform reliability | | Hormone panels | Moderate to high | Tracking optimization | Time-of-day sensitivity | | Metabolic markers | High correlation | Metabolic health monitoring | Single timepoint snapshot |
The biomarker data interpretation guide helps you translate raw numbers into meaningful health insights. Understanding the DTC testing market landscape also provides context for evaluating different testing options and their respective strengths.
Explore professional at-home biomarker testing with Biostarks
Now that you understand the complete at-home testing process, you’re ready to take action on your health optimization journey.
Biostarks offers precise, easy-to-use at-home biomarker kits designed specifically for individuals seeking detailed health insights without clinic visits. Our professional biomarker test kits use advanced Swiss mass spectrometry techniques to analyze vitamins, hormones, amino acids, lipids, minerals, and metabolic markers with exceptional accuracy.
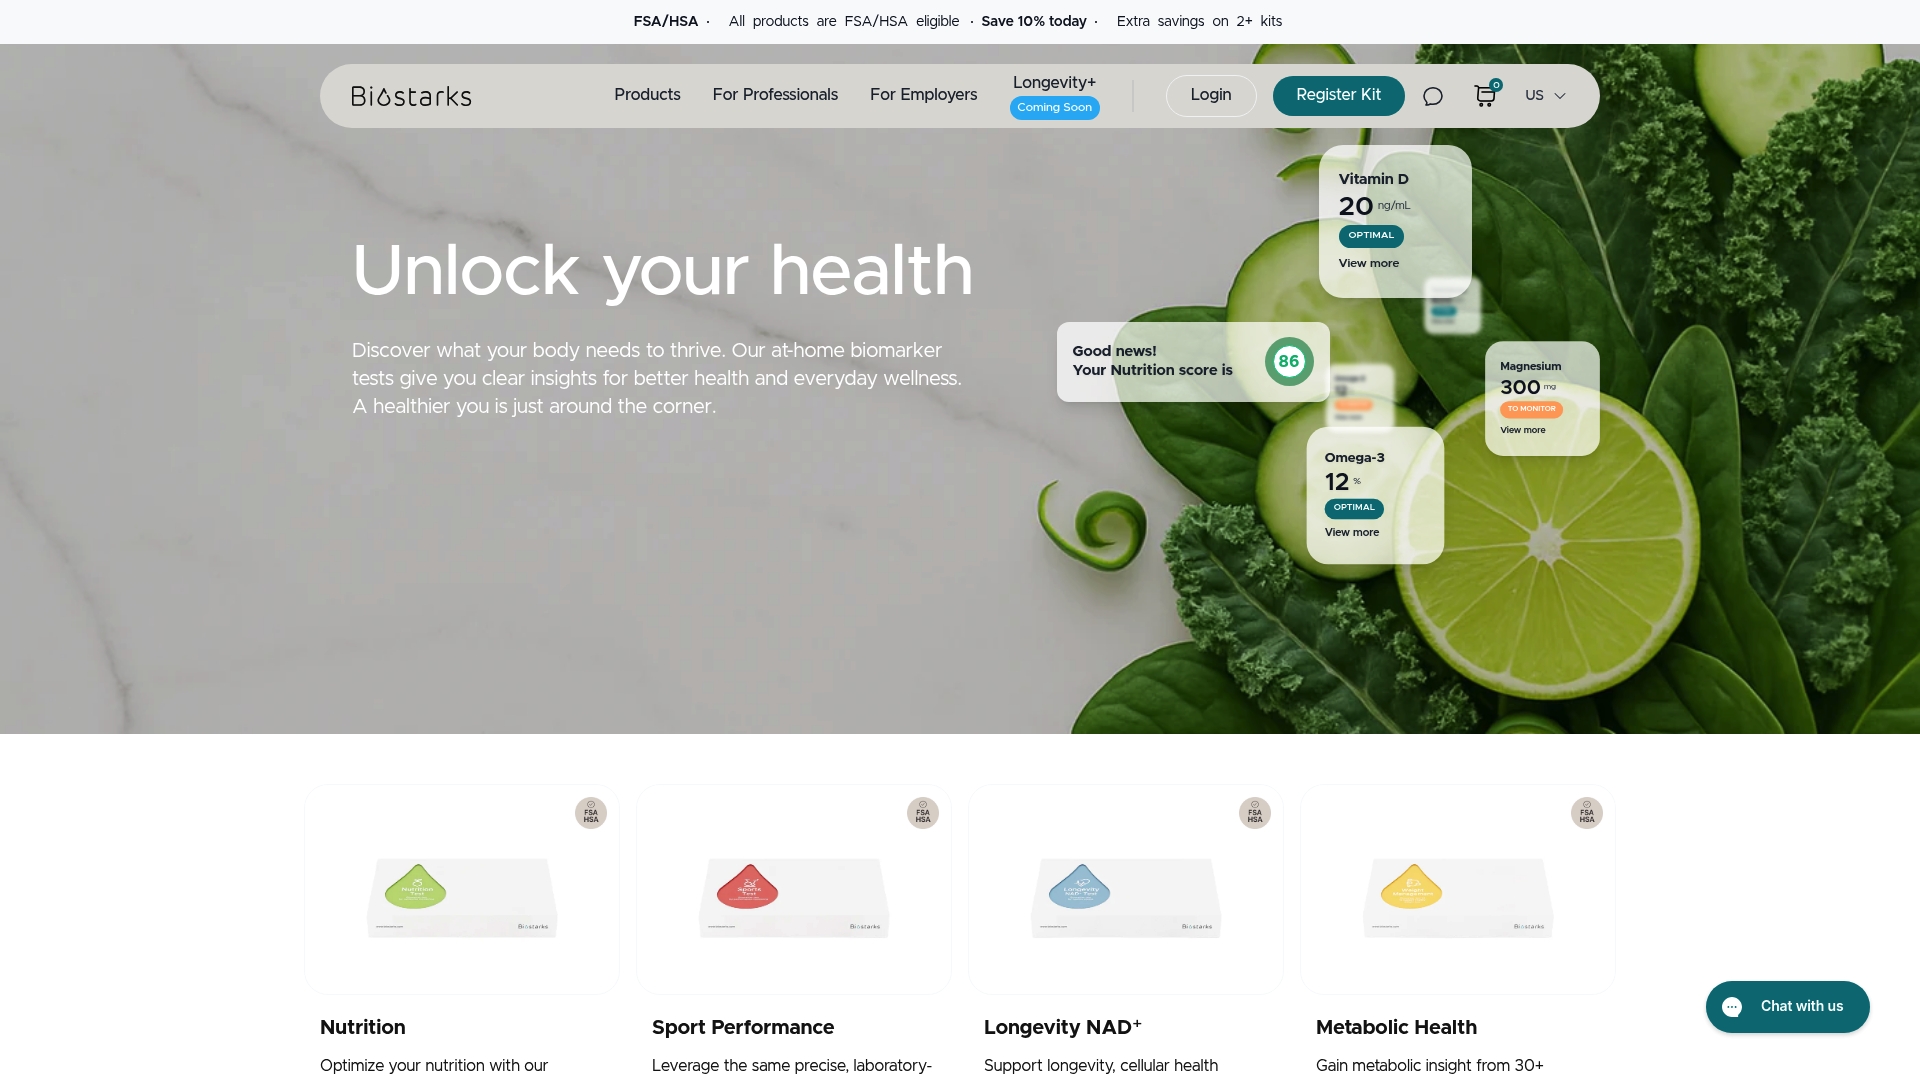
Detailed instructions and dedicated support help you avoid common collection errors and ensure your sample meets laboratory standards. Our partnerships with certified labs guarantee reliable results that inform meaningful health decisions. Whether you’re an athlete optimizing performance, a health enthusiast tracking longevity markers, or someone taking control of metabolic health, Biostarks provides the precision data you need. Visit our at-home blood testing guide to start your wellness journey with confidence.
Frequently asked questions about the at-home lab test process
How long does the sample collection take?
Sample collection typically takes 10-15 minutes from preparation through packaging. Most of this time involves waiting for your collection card to dry completely, which requires at least 30 minutes before sealing and shipping.
Can I eat or drink before collecting my sample?
Most at-home biomarker tests don’t require fasting, though afternoon collection is generally recommended. Drink water normally to stay hydrated, as this improves blood flow. Check your specific kit instructions for any biomarker-specific requirements.
How soon will I get my test results?
Results typically arrive 7-14 days after the lab receives your sample. Transit time adds 2-5 days depending on your location. Expedited processing may be available for an additional fee from some providers.
What if my sample is rejected by the lab?
Labs reject samples due to insufficient volume, contamination, or degradation during transit. Most companies provide free replacement kits when rejection occurs due to shipping delays or kit defects. If collection error caused rejection, you may need to purchase a new kit.
Are at-home test results as accurate as lab tests?
At-home dried blood spot tests show high accuracy for most biomarkers compared to traditional venous draws. However, accuracy varies by specific marker tested. Results are best used for screening and tracking trends rather than diagnosing medical conditions. Learn more about at-home health testing basics to understand when at-home testing is appropriate for your needs.


